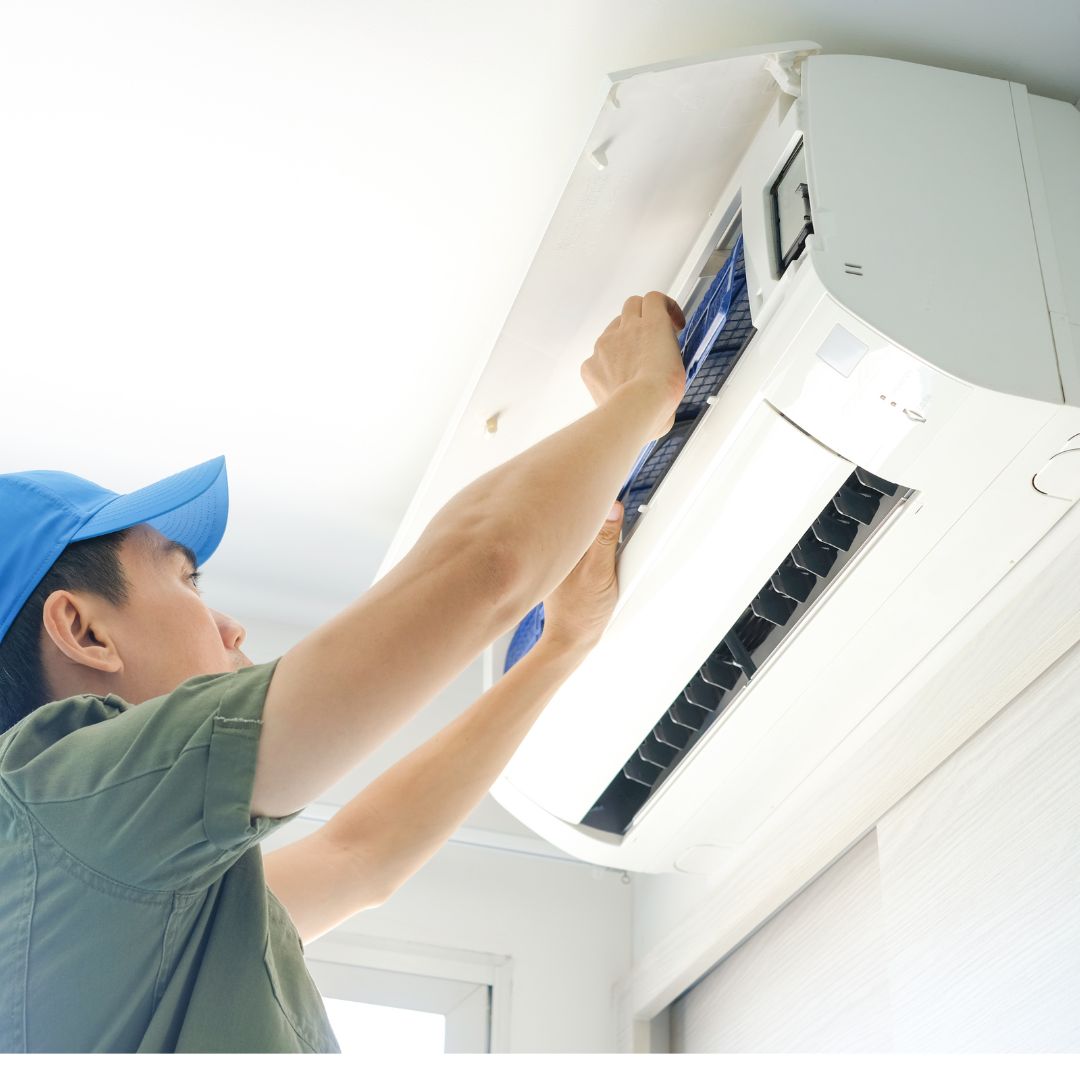
AC Installation
AC Installation Services in Gurgaon
Proper installation of an AC leads to improved performance, energy efficiency, and reduced noise and vibrations.
Pricing
Fixed pricing
Duration
30 mins – 2 hrs 30 mins
Turnaround Time
2.5 hours

AC Installation Process
AC installation is the process of setting up an air conditioning system, in a residential or commercial space. It involves selecting the appropriate unit for the space, preparing the installation site, and properly connecting and testing the unit. We at AC Rent have a team of expert technicians and they do all the setup, installation and other minor work themselves.
The first step in AC installation is determining the appropriate size of the unit space. An AC that is too small or too large will not function efficiently. a load calculation and a proper measurement of the space are important to ensure the right size of the AC is chosen.
Next, the installation site is prepared. This includes ensuring that the location of the outdoor and indoor units is appropriate and that all necessary electrical and ductwork is in place. After the site is prepared, the AC unit is connected to the electrical and ductwork system. The technician will then test the unit to endure that it is working properly and make any necessary adjustments.
Finally, the technician will provide instructions on how to operate the unit and schedule a follow-up visit to check on the system’s performance and make any necessary adjustments. Proper installation of an AC unit is essential for ensuring its efficiency and longevity. It is recommended to hire a professional and certified technician for the installation of AC to avoid any hazards, and for the proper working of AC. Hire AC Rent for the AC Installation services in Gurgaon now.
The Process We Follow
Window AC Installation
The window ac installation is relatively straightforward and can often be done by a homeowner with basic DIY skills. However, it’s always a good idea to consult the specialists’ instructions and to ensure that all local building codes are followed.
Measure the width and height of the window where the AC unit will be installed. Be sure to measure from the inside of the window frame, and ensure that the unit will fit properly in the window.
Remove any screens or storm windows from the window, and make sure the window is clean and free of debris. Some windows may require additional preparation, such as installing a bracket to support the weight of the AC unit.
Most window AC units come with a mounting bracket that attaches to the window frame. Follow the manufacturer’s instructions to properly install the bracket
Carefully slide the AC unit into the window and onto the mounting bracket. Make sure the unit is properly secured to the bracket, and adjust the unit as necessary to ensure a snug fit.
Plug the AC unit into an electrical outlet, or use the appropriate wiring to connect it to a dedicated circuit. Be sure to follow all safety guidelines for working with electricity
Use weatherstripping or caulk to seal around the edges of the AC unit to prevent drafts and leaks.
Turn on the AC unit and test it to ensure that it is working properly. Adjust the thermostat, and check for proper airflow and cooling.
Clean the filter regularly and make sure the unit is level to avoid any issues.
Split AC installation
The split air ac installation is more complex than installing a window unit and requires a professional technician. Split AC systems consist of two main parts: an indoor unit, which contains the evaporator coil and fan, and an outdoor unit, which houses the compressor and condenser coil.
Split AC Installation Process:
- Conduct a site survey: A professional technician will conduct a site survey to determine the size and layout of the space, the location of the indoor and outdoor units, and the type of ductwork or ventilation required.
- Prepare the installation site: This includes determining the best location for the indoor and outdoor units, making any necessary electrical and ductwork connections, and installing any support brackets or mounting hardware.
- Install the indoor unit: The indoor unit is typically mounted on a wall or ceiling and connected to the ductwork or ventilation system. The technician will also connect the electrical wiring and refrigerant line to the unit.
- Install the outdoor unit: The outdoor unit is typically located on a concrete pad or a bracket mounted to the wall. The technician will connect the refrigerant line and electrical wiring to the unit.
- Charge the system with refrigerant: The technician will charge the system with the appropriate amount of refrigerant, as per the manufacturer’s specifications.
- Test the system: The technician will test the system to ensure proper refrigerant flow and airflow, and make any necessary adjustments.
- Provide instructions on maintenance and operation: The technician will explain how to operate the system, how to change the filter, and how to schedule regular maintenance.
The installation of a split AC system requires specialized skills and knowledge and should be done by a licensed and certified HVAC technician to ensure the proper functioning of the AC and to avoid hazards.
